

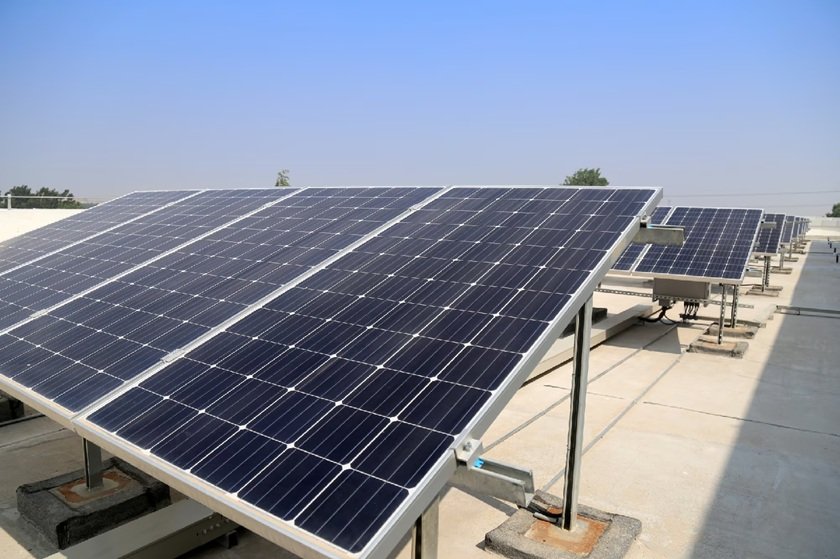
Your electricity bill keeps climbing, yet the roof above you stays unused. What if that empty space could quietly trim your monthly expenses without changing your routine?
A rooftop solar system turns sunlight into power you actually use. Every unit generated is one less unit you buy from the grid. But not everyone qualifies for the same support. Rules differ by connection type, ownership, and past subsidies.
Many homes install panels yet miss the right paperwork or vendor. Small oversights can delay approval or reduce benefits. Understanding the process early can prevent costly rework later. The right steps keep timelines short and approvals smooth.
Let’s check who can apply, how to claim the benefit, and what documents you’ll need.
Who Qualifies for a Rooftop Solar System Under PM Surya Ghar?
Not every household can claim the central subsidy. The scheme targets residential consumers with clear ownership and a valid DISCOM connection.
Checking eligibility first can save time and help avoid rejected applications. The points below outline the key requirements for on-grid and hybrid solar systems before applying.
- Residential Consumers Only
Only domestic electricity connections qualify. Commercial, shop, or industrial meters are excluded from this residential subsidy. A rooftop solar system is for homes, not businesses.
- Indian Citizen, Age 18+
Applicants must be Indian residents aged 18 or above. The name should match Aadhaar and the electricity bill. This ensures the rooftop solar system applicant is verified.
- Roof Ownership or Written Consent
You must own the roof or provide written authorisation from the owner. Society NOC is acceptable for common installations. Without this, a rooftop solar system cannot be approved.
- Active DISCOM Connection
A valid electricity connection in the applicant’s name is mandatory. Consumer number and DISCOM details must be accurate. This link is essential for any rooftop solar system.
- No Prior Central Solar Subsidy
Households that already have a subsidised rooftop solar system cannot claim central financial assistance again on the same premises. Only one rooftop solar system per home qualifies.
- Valid Bank Account and Aadhaar-Linked Mobile
The subsidy is credited via direct benefit transfer. A valid bank account and Aadhaar-linked mobile number are required. This speeds up processing for your rooftop solar system.
How to Apply and Claim a Rooftop Solar System as per Your State Step by Step
The process moves from registration to DISCOM approval, installation, inspection, and subsidy release. Follow each step in order. Curious about the exact sequence for a rooftop solar system? The steps below walk you through it.
Each stage has specific documents and checks. Skipping any can pause your application.
- Register on the National Portal
Visit pmsuryaghar.gov.in. Select your state and DISCOM. Enter your consumer number and registered mobile number. This starts your rooftop solar system application.
- Complete Your Consumer Profile
Verify via OTP. Fill in your name, email, address, district, and PIN code. Ensure details match your bill and Aadhaar. Accurate data avoids delays for your rooftop solar system.
- Submit the Rooftop Solar Application
Choose “Apply for Rooftop Solar.” Enter connection details. Review information carefully before submitting the form. This locks in your rooftop solar system request.
- Wait for Feasibility Approval
DISCOM assesses network compatibility. Proceed only after receiving formal feasibility approval for your proposed capacity. No rooftop solar system can be installed before this.
- Select an Empanelled Vendor and Install
Pick a registered vendor from the portal list. Install the system as per approved specifications and safety norms. Your rooftop solar system must follow these rules.
- Apply for Net Metering and Inspection
Submit system details. Request a net meter. DISCOM completes inspection and commissioning before enabling grid connectivity. This step finalises your rooftop solar system.
- Claim the Subsidy on the Portal
Log in after commissioning. Navigate to the subsidy claim section. Upload bank details and required documents. This initiates the claim for your rooftop solar system.
- Track Claim Status and Receive Payment
Monitor the application dashboard for updates. Resolve any queries raised by the DISCOM. After approval, the amount is credited to your account. This completes the claim for your rooftop solar system.
Keep copies of every document and screenshot for reference. Track your application status regularly on the portal. Let’s get your rooftop solar system application started today.
Ready to Move Forward with Your Rooftop Solar System?
PM Surya Ghar Yojana makes rooftop solar more accessible through central financial support for eligible households. With a valid DISCOM connection and the right system, homeowners can take steps towards lowering their electricity expenses.
By following the application process carefully, you can move from registration to installation and commissioning with greater ease. Check your electricity bill, assess your roof space, select the appropriate capacity, and keep the required documents ready.
For support with your rooftop solar system, trusted providers such as Eastman Auto & Power Limited can help you explore suitable solar solutions. Connect with the experts today to discuss your requirements and plan your rooftop solar setup.
